In short
- Three routes: a paper squishy, a shaped new sponge, or a boxed kit that comes with its own notice.
- A fourth, the balloon filled with flour or rice, is described with its risks and no steps.
- No heat, no microwave, no sand, no water beads and no recipes copied from videos.
- A home-made piece has no age grade, marking or maker’s address, so keep it away from mouths and from children under 3.
Pick a route before you buy anything
Searches for this topic turn up a long list of home recipes. We sorted them into what an adult can supervise with ordinary craft materials and what we would rather not describe. Five routes come out of that sort, and only three get steps.
| Route | Materials | What it gives you | Main watch-out |
|---|---|---|---|
| Paper squishy | Paper or card, clear tape, soft stuffing, scissors | A flat, plump shape that dents when pressed | Seams split if it is overfilled |
| Shaped sponge | A new sponge or craft foam, pen, scissors | A chunky shape with its own spring | Torn-off pieces; colour that flakes |
| Boxed shell kit | Shells, slime or fillers and tools, all supplied | A filled ball, 6+ on the listing we read | Follow the maker’s notice |
| Liquid-silicone kit | Two components, moulds, pigments | Cast shapes | 6+ or 6 to 12 on listings; notice and an adult first |
| Balloon with flour or rice | A latex balloon and a dry filling | A weighty ball | Latex, bursting, choking, mess: no steps here |
What none of these is
None gives you a shop-bought slow-rising foam, whose rebound is a property of the material. A paper squishy dents and keeps a trace. A sponge springs back at once. If slow rebound is the point, slow rising squishies compares the ready-made ones.
Route one: a paper squishy
What you need
- Paper or thin card, plain or lined
- Pens or pencils to colour the shape
- Clear tape, plenty of it
- Scissors, blunt-ended for young children
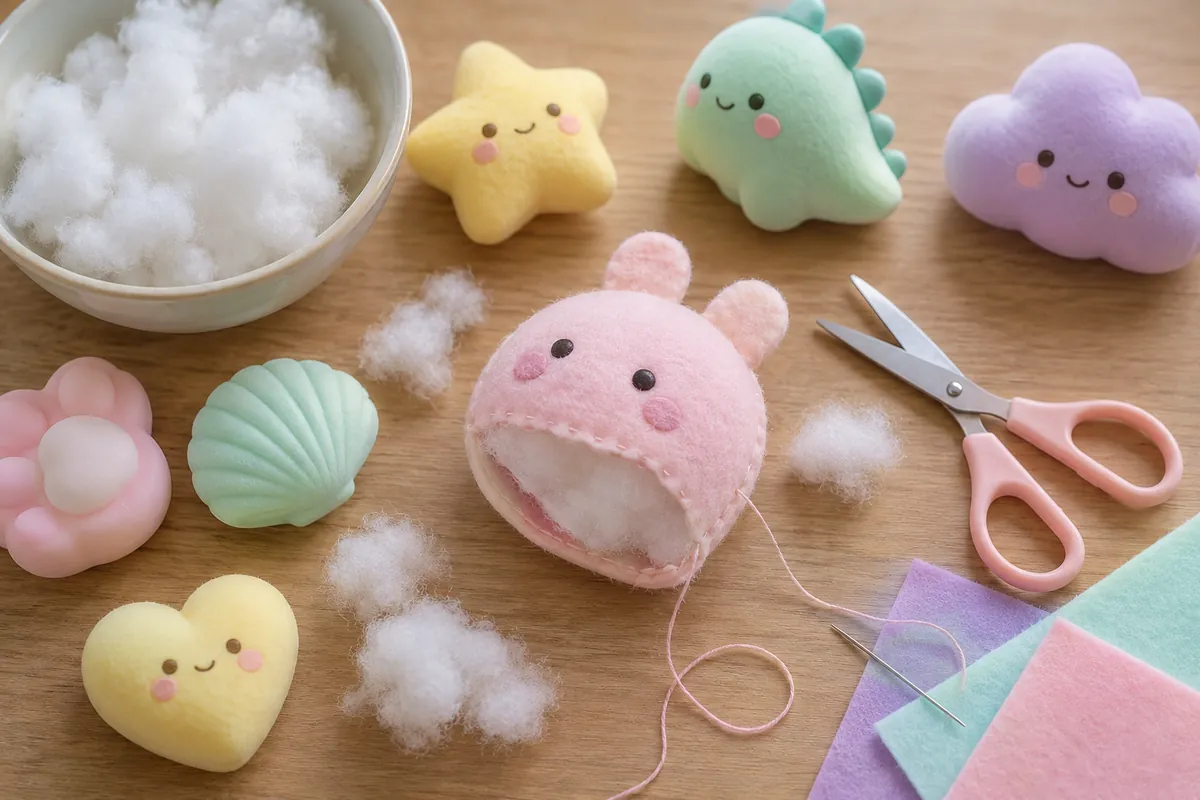
- Soft stuffing such as cotton wool or polyester fibre, or a scrap of craft foam
The steps
- Draw a simple outline on the paper: a bun, a paw, a star. Keep the shape rounded, with no thin arms that tear.
- Colour it in, then draw a plain back, or trace the same outline a second time.
- Cut both pieces out. Young children cut only with an adult close by.
- Cover the outer face of each piece with clear tape, overlapping the strips, so the paper holds together and looks glossy.
- Place the two pieces back to back and tape the edges together, leaving a gap about the width of a finger.
- Push the stuffing in through the gap a little at a time, until the shape is plump but not tight.
- Close the gap with tape and press the whole edge flat.
Where it goes wrong
- An overfilled shape splits along the seams. Stop when it is plump, not when it is full.
- Thin paper tears at the corners; thin card holds better.
- Air bubbles under the tape make a wrinkled surface. Smooth each strip outwards.
- Keep loose grains and beads out of the stuffing. If a seam opens they spill, and they are the part that can be swallowed.
- Paper does not get washed. If it is marked or damp, it is replaced, not cleaned.
Variations, such as sealed shapes with several layers, are covered on the paper squishy page.
Route two: a shaped sponge
This is the one place in the guide where something is cut. It is a new sponge or a block of craft foam, never a finished squishy: a squishy is not cut, pierced, opened or heated, whatever a video shows.
- Choose a new sponge, or a block of craft foam, in a plain colour.
- Draw the shape with a pen: a bun, a heart, a paw. Keep it chunky, because narrow parts tear.
- Cut along the line with scissors. An adult does the cutting for young children, with the blade pointing away from the hand that holds the sponge.
- Add colour with markers, or cover the top with clear tape for a smoother skin.
- Press and release it a few times. If bits crumble or peel, trim them off or re-tape.
Pitfalls specific to a sponge
- Pieces torn off a sponge are small enough to swallow. As with finished squishies, the German consumer centres list torn-off pieces among the choking risks for children under 3.
- Colour that rubs off means the piece is not ready for hands, let alone mouths.
- A sponge soaks up liquid. Keep it dry, and do not pass it off as a washable toy.
Route three: a boxed kit
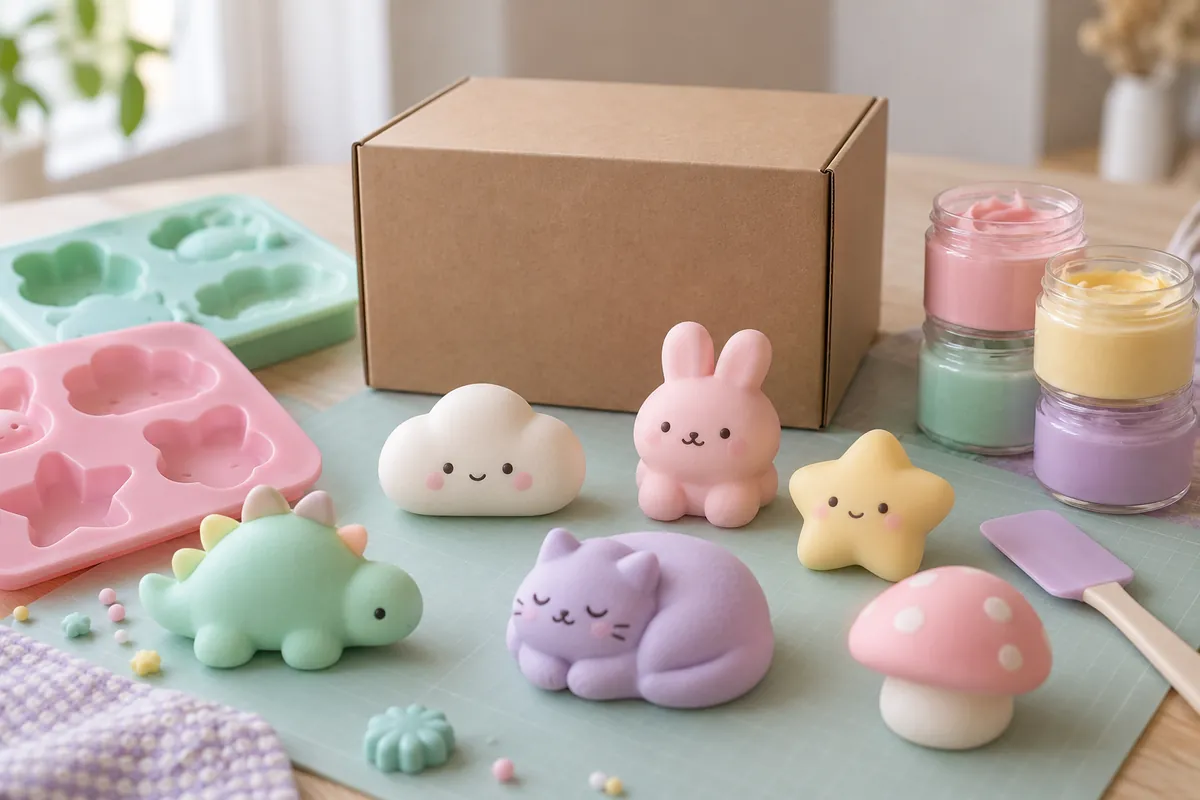
A kit solves the two hard parts of home-making: the materials and the instructions. The shell kits we compared list 6+ for children; the liquid-silicone sets list 6+ or 6 to 12. The full comparison is on squishy kits.
 Thedttoy 53-piece kitView on Amazon

Liquid silicone is a separate step
Liquid-silicone kits mean mixing two components and pouring into moulds. We give no ratios, timings or tricks: the maker’s notice is the only source, and the listings that picture parent and child working together are a reason to have an adult at the table.
The balloon method, and why it gets no steps
A balloon filled with flour or rice is the best-known home squishy. It works as a heavy, squashy ball, and it comes with a list of problems we would rather lay out than hide.
| Risk | What it means in practice |
|---|---|
| Latex | The skin is latex, a stretchy material that splits and leaves fragments |
| Bursting | Pressed hard or pinched, a balloon bursts and the filling spills |
| Choking | Grains and balloon fragments are small enough to be swallowed by a young child |
| Mess | Flour and rice spill and are hard to clear from fabric and carpet |
There are no steps here on purpose. If an older child or an adult tries it, an adult stays throughout, and the balloon is thrown away as soon as it cracks, tears or leaks. Sand is a filling to avoid altogether: the Stiftung Warentest advises against squishies filled with sand, which can contain asbestos.
What we leave out, and why
- Heating of any kind. The DGCCRF asks people not to copy videos where squishies are put in a microwave, and reports bursting and burns, among them an 8-year-old with second-degree burns, though without proof that the toy had been heated. A children’s hospital in Glasgow has published an alert on children putting squishies in the microwave.
- Cutting open, piercing or squeezing out a finished squishy to “see what is inside”.
- Water beads. The Stiftung Warentest notes that swallowed beads can cause a blockage or choking.
- Sand, as above.
- Recipes with loose ingredients seen on video sites. We cannot check what they produce, and a home-made piece carries no age grade, no marking and no maker’s address.
The wider picture, source by source, is in are squishies safe, and the products named in alerts are in squishy recalls.
Looking after what you make
Retire it early
Whatever the route, a piece that cracks, tears, leaks or smells odd is retired. The Verbraucherzentrale advises throwing away a cracked squishy, and the same rule is sensible for a home-made one.
Keep it away from heat
A radiator, a sunny windowsill or a hot car is no place for a squishy of any kind. For washing a ready-made one, see how to clean a squishy; that advice does not apply to paper or to a sponge.
- Paper: replace, never wash.
- Sponge: keep dry; replace when it crumbles.
- Kit pieces: follow the notice in the box.
Frequently asked questions
What is the easiest squishy to make at home?
A paper one: a drawn shape, clear tape and soft stuffing, with scissors the only tool. It asks for no mixing and no special materials.
Can I make a slow-rising squishy at home?
Not with these routes. Slow rising comes from a foam made for the purpose, so the comparison of finished ones is the better route.
Is it fine to follow a recipe from a video?
We do not reproduce them. Nothing shows what a video recipe produces, and the piece has no age grade, no marking and no maker’s address.
Can I soften or reshape a squishy with warm water or a hair dryer?
No. No heat source belongs near a squishy: not a microwave, not a radiator, not a hot car. The authorities warn against heating them.
What age is a home-made squishy suitable for?
There is no age grade, because there is no maker. The kits list 6+ or 6 to 12, and German consumer centres advise against any squishy for a child under 3.
What should I do with a torn home-made squishy?
Throw it away. A torn piece may release stuffing or filling, and a repair does not change that, least of all for a small child.
Keep reading: Squishy kits, 8 sets comparedPaper squishy: how to make oneAre squishies safe? Age and checks