In short
- A paper squishy needs paper, pens, clear tape, scissors and a soft filling; nothing is heated, poured or mixed.
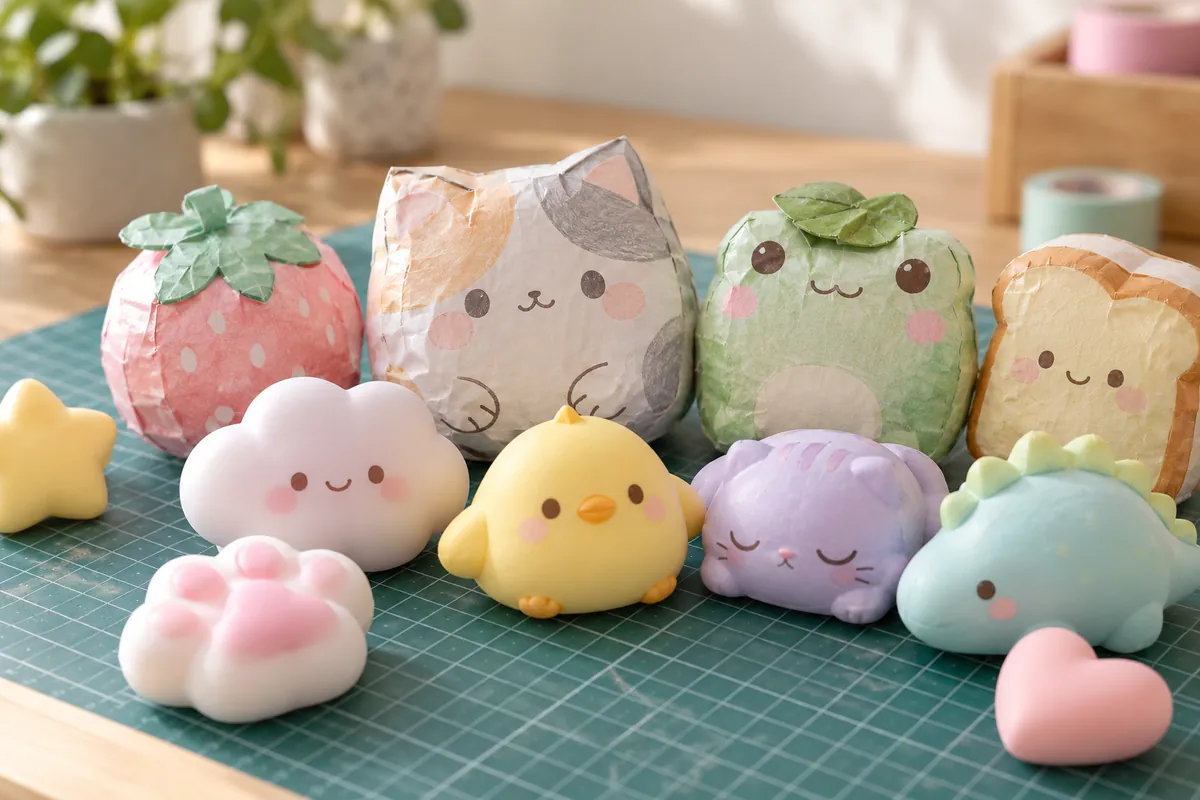
- Chunky, rounded shapes seal best: a cat paw, a strawberry, a slice of toast, a ghost.
- Soft fillings only; loose beads, rice and sand add nothing and are best left out.
- Three kits in our selection suit people who want a ready-made project, with materials that differ from paper.
What you are making, and how it differs from a bought squishy
A paper squishy has no gel, no liquid and no beads inside. Its skin is a sheet of paper under clear tape, and its body is whatever soft filling you choose, which makes it a different object from the filled skins that drew official attention in 2026.
| Paper squishy | Ready-made squishy | Making kit | |
|---|---|---|---|
| Made of | Paper, clear tape, soft filling | Foam, TPR rubber, silicone or plush as listed | Slime, clay, silicone or ball shells, depending on the kit |
| You supply | Pens, scissors, tape, filling | Nothing | Usually nothing |
| If the skin tears | Add tape and refill | Stop using it if it holds gel or liquid | Follow the kit’s own instructions |
| Where to read more | This page | are squishies safe | squishy kits compared |
The second row of that table is the practical appeal: you decide the shape, the colours and the softness. A paper squishy also asks for scissors and loose filling, so the usual care for craft work applies.
Materials
| Item | What it does | Notes |
|---|---|---|
| Plain paper or thin card | Holds the drawing | Thin paper folds into curves more easily; card keeps a flatter shape |
| Markers or coloured pencils | Colour the design | Marker ink needs to be dry before taping |
| Wide clear tape | Seals the paper and forms the skin | Wide rolls need fewer overlaps and so fewer weak lines |
| Scissors | Cut the shape out | Small, sharp-tipped scissors handle curves; an adult should do the cutting for younger children |
| Soft filling | Gives the squeeze | See the fillings table below |
| Pencil and a ruler | Outline and straight edges | Optional but they keep the two halves matching |
Eight steps from sheet to squishy
The method
- Draw a chunky outline in pencil, with few corners and no thin points, since narrow tips are the first to split. Trace it onto a second sheet so you have a front and a back.
- Colour the front. The back can be left plain or coloured in a matching shade.
- Wait until the ink is dry, then cover the coloured side of both pieces with overlapping strips of clear tape, pressing out the air as you go.
- Cut each piece out along the outline, leaving a thin rim of tape beyond the paper.
- Place the two pieces back to back with the drawings facing out, and tape around the edge with strips folded half onto each side. Leave a gap about as wide as your thumb.
- Fill gently through the gap with small pinches of your chosen filling, shaping the body as you go. A little under-filled squeezes better than a tight one.
- Close the gap with a strip of tape and press the whole rim flat.
- Squeeze it. If a corner opens, add another strip over it; if it feels lumpy, open a small seam and redistribute the filling.
Scissors and fine pieces of filling are the two points to supervise when younger children join in. For anything bought, the maker’s age printed on the pack is the guide.
Shapes that work, and why
Animals
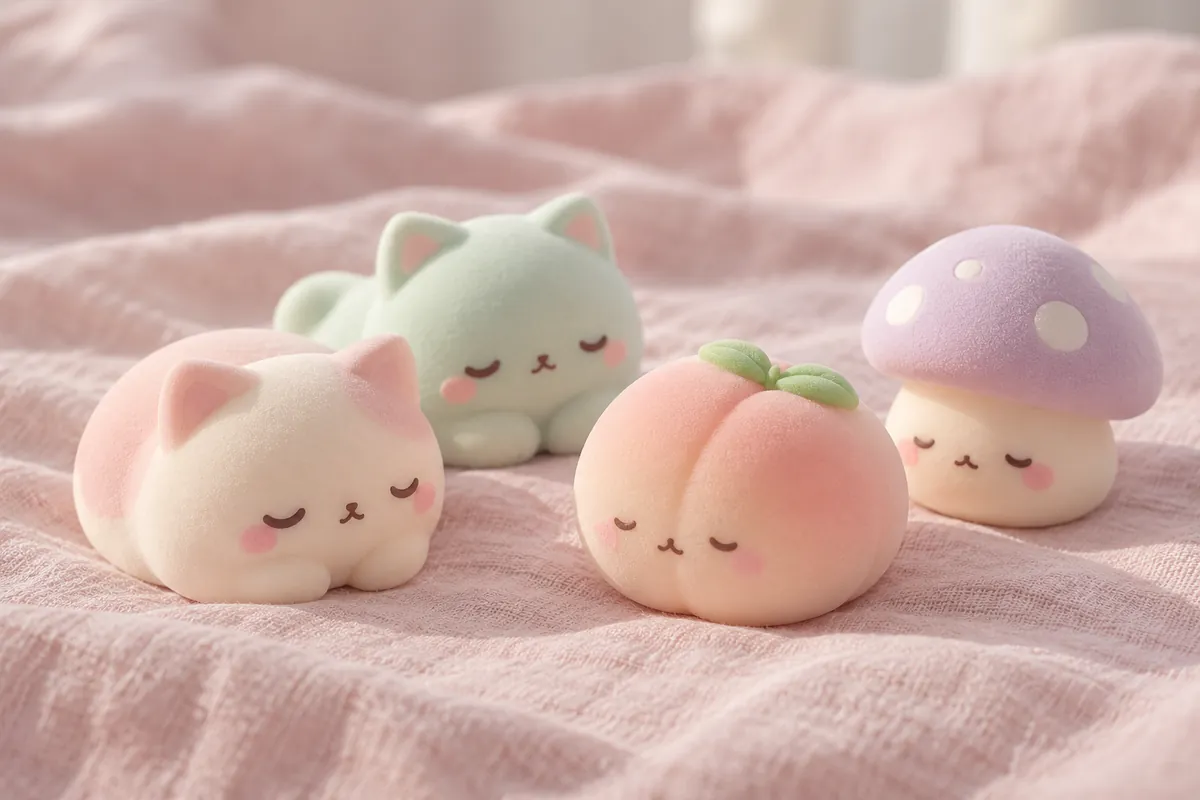
Round bodies with short ears or paws give the most forgiving edge to tape. Cat paws and hamsters are popular shapes in ready-made taba sets, such as the SSKHE and Audasi ones, and they translate well to paper because they are mostly curves.
Food
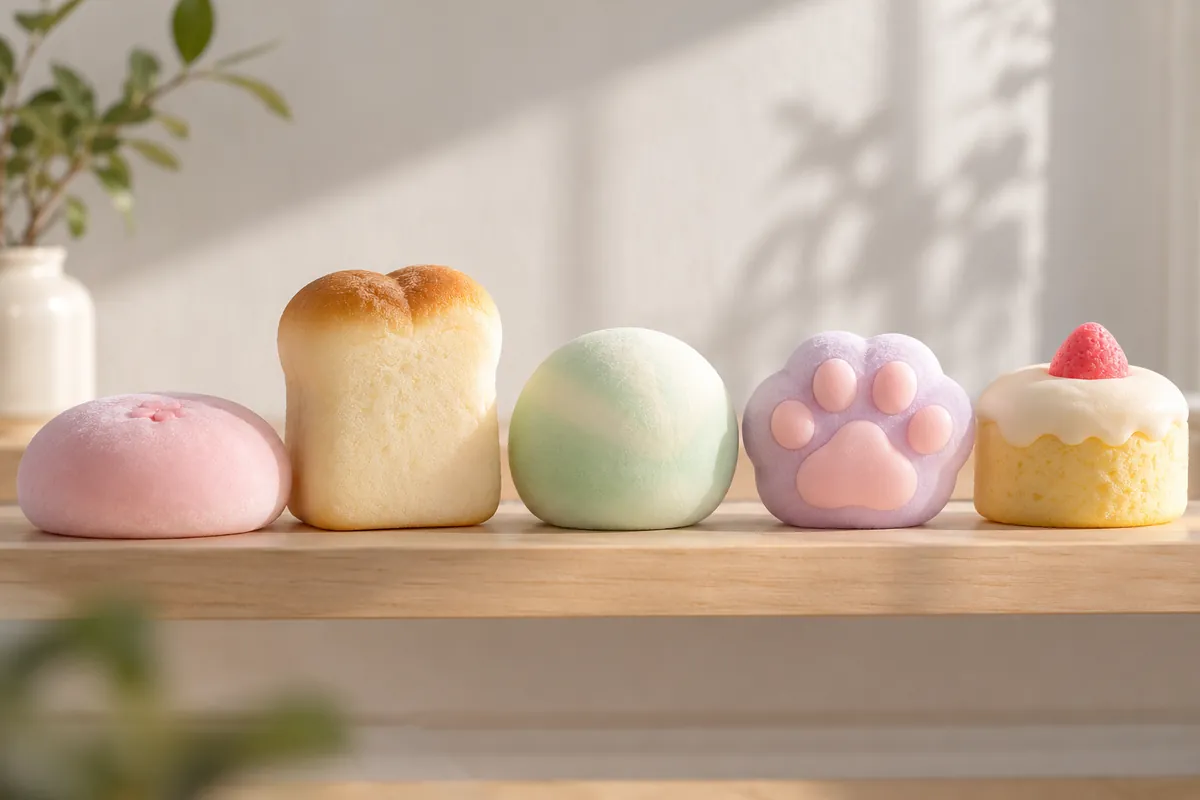
Toast, butter, cheese and fruit are staples of slow-rising squishies, for example the ICONRY butter and cheese pair and the suction bread and butter set. On paper they suit a plain, flat colour and a single bold detail such as a bite mark or a strawberry seed.

Ghosts and characters
A smiling ghost, like the glow-in-the-dark Mondiko one, is among the easiest outlines to cut. Drawing a face on both halves means the squishy looks finished from either side.
Fillings compared
| Filling | Feel | Watch for |
|---|---|---|
| Cotton wool | Soft, little rebound | Flattens with handling |
| Tissue paper, scrunched | Light and crinkly | Corners stay empty unless packed in |
| Scrap of sponge or foam | Springier, returns to shape | Cut to fit the outline so it does not buckle |
| Bubble wrap | Cushioned, a little noisy | Seams strain if it is overfilled |
Leave out loose beads, rice and sand. The bead and sand warnings in the 2026 notices concern ready-made squishies, and a paper one gains nothing from them while a split seam would let them out.
Templates, thickness and themed sets
A reusable template
Draw a favourite shape once on thin card, cut it out and keep it as a stencil. Tracing round it gives matching front and back pieces every time, and it is quicker than redrawing the outline for each toy.
Giving it thickness
A flat squishy has two faces and a rim. To make a plumper one, cut a band of paper as long as the outline’s edge and as wide as you want the thickness, tape it round the rim between the front and back pieces, and fill the space before the last seam is closed.
- Cover the band with tape on both sides, as it forms part of the visible skin.
- Snip small notches along the band where it meets a curve, so it bends without creasing.
- Test the fit dry before any tape goes on.
A themed set
Making three or four pieces around one idea turns a one-off into a small collection: a breakfast set of toast, butter and a slice of cheese, for instance, or a garden set of a strawberry, a leaf and a snail. A set also lets you compare fillings between pieces and keep the one that squeezes best.
When something goes wrong
| Problem | Likely cause | Fix |
|---|---|---|
| Ink smears under the tape | Tape went on before the ink was dry | Redraw and wait for the ink to dry; fine-tip markers smear less than thick ones |
| A corner splits when squeezed | Sharp point, thin tape or overfilling | Cover it with a second strip and take out a little filling |
| Air bubbles trapped in the tape | Strips laid down too quickly | Smooth each strip from the centre outward on the next piece, and re-tape a finished one if a bubble bothers you |
| The edge lifts after a while | Tape strips met only on one face | Re-fold a fresh strip half onto each side |
| The body feels lumpy | Filling packed unevenly | Open a short seam, spread the filling and re-tape |
Looking after a paper squishy
- Keep it dry. Paper under tape is not a washable material, so wipe the surface with a dry cloth and avoid damp.
- Store it flat in a box or a book rather than loose in a bag, where edges bend and seams open.
- Mend seams with fresh tape. Unlike a toy with gel or liquid inside, there is nothing here that makes repair a bad idea.
- Replace worn filling rather than adding more tape to a flattened body.
For the ready-made kind, a different rule applies: how to clean a squishy explains why a toy holding gel or liquid is never mended.
When a ready-made kit suits you better
Paper is the simplest route to a first project, but some people want a box that holds everything. We read the listings of three kits and noted what each says it contains. Materials such as slime, clay and liquid silicone are not paper, so follow each box’s own age and instructions.
| Kit | Contents as listed | Pitched at, as listed |
|---|---|---|
| Doodora squishy balls kit | 8 ball shells, 14 bags of slime, 3 bags of air-dry clay, 7 charms, 9 bags of accessories, a tray, 12 cable ties and a guide | Ages 6 and over; kids and adults |
| Highttoy liquid silicone kit | 480 ml liquid silicone, 9 moulds (3 large, 6 small), glitter and glow pigments, tools | Ages 6 to 12 |
| Thedttoy 53-piece kit | 13 squishy skins in three styles, 19 packs of fillers, tools such as a shovel and a filling tube, reusable ties | Kids and people new to crafts |

 Highttoy liquid silicone kitView on Amazon
 Thedttoy 53-piece kitView on Amazon
The wider picture of making squishies is in how to make a squishy. The seller texts for these kits call their materials safe, which is a claim, so read the age and the packaging as you would for any toy.
Frequently asked questions
How do I stop the tape peeling at the edge?
Fold each strip half onto each side of the rim and press from the centre outward. Rounded outlines give strips less to lift.
Can I use scrap paper from a magazine?
Yes, but glossy print can show through tape as dull patches. Plain white paper keeps colours truest.
Do I need a printer?
No. Free-hand shapes are the usual way in, and a printed outline simply saves tracing.
Why does mine feel flat after handling?
Cotton wool and tissue compress with use. A scrap of sponge or foam keeps more spring, and fresh filling can be added through a small seam.
Is a paper squishy suitable for a young child?
The cutting and the loose filling need an adult, so the project suits a child working with one. For a ready-made kit, the age printed on the box decides.
How big should the outline be?
Around the size of a palm is easy to seal. Very small outlines leave little room for filling, and very large ones need a firmer filling to hold their shape.
Keep reading: How to make a squishySquishy kits, 8 sets comparedKawaii squishies compared